Webchat is a chat feature embedded on a website, allowing visitors to send messages through a chat widget available on the webpage.
Connect Webchat Channel to Layanika #
Follow the steps below to connect the widget to the Webchat channel in Layanika:
Step 1:
Go to the Settings, then select Channel. Click Add Channel, then select Webchat.
Step 2:
Fill in the fields under Basic Configuration, such as Domain Name, Widget Theme Color and Icon
For the website domain URL in Layanika, you can enter it in the following formats:
- https://layanika.com/
- layanika.com
Step 3:
Then select Continue. Add the script to your website settings, then click Next.
Install Widget on Website #
a. How to Install the Webchat Widget on a WordPress Website #
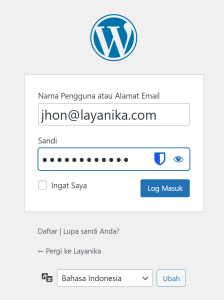
Step 1:
Open your WordPress admin page, then enter your Username or name Email and Password, and click the Login.
Step 2:
Click Plugin, Install and Activate WPCode. Once installed, go to Code Snippets, then select Header & Footer. Copy the script from Layanika, paste it into the Footer Scripts section on the Header & Footer, then click Save.
b. How to Install the Webchat Widget on Non-WordPress Websites #
For websites other than WordPress, open your HTML page and paste the script just before the closing tag </body>.
<body>
...
...
...
<paste script here>
</body>
Widget Customization #
The widget display can be customized based on user needs and website functionality. Users can adjust elements such as text, colors, and position, as well as add a pre-chat form to the widget on your website. Click Manage The widget display can be customized based on user needs and website functionality. Users can adjust elements such as text, colors, and position, as well as add a pre-chat form to the widget on your website. Widget Customization.
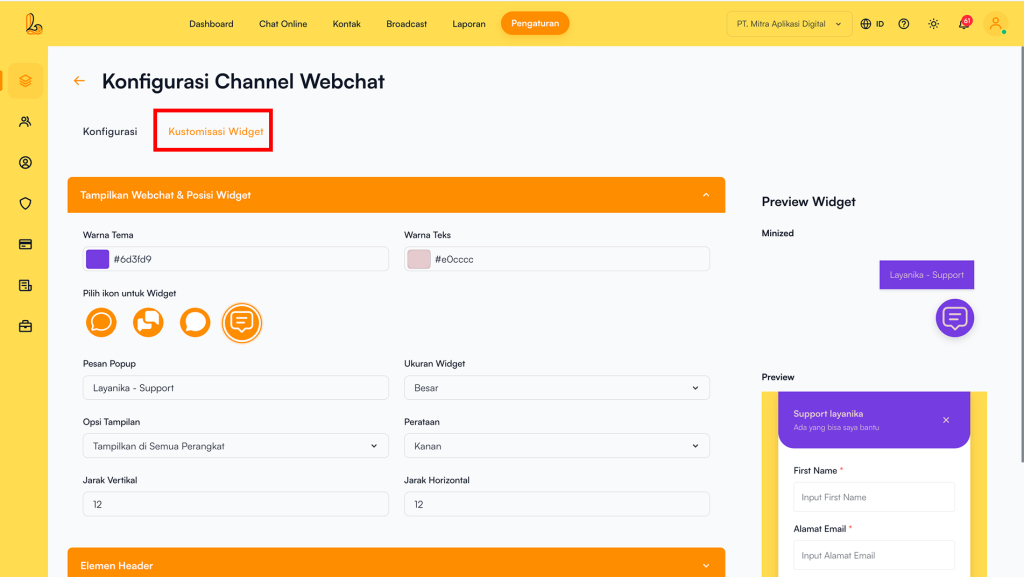
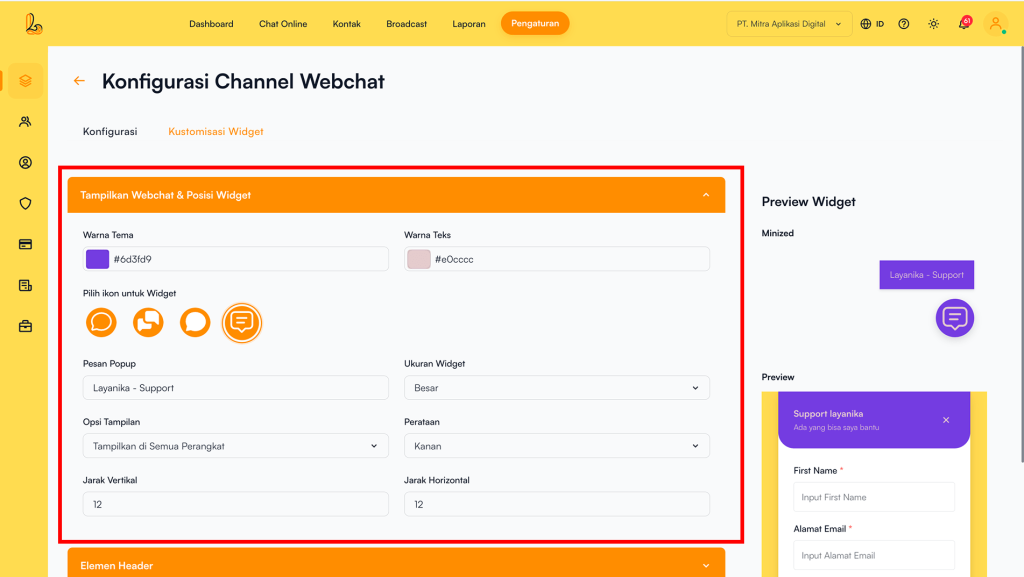
Display Webchat & Position Widget #
Users can customize the webchat appearance and widget position on the website. The available settings include:
| Component | Description |
|---|---|
| Theme Color | Sets the primary color of the webchat widget |
| Text Color | Sets the text color within the widget |
| Widget Icon | Used to determine the icon displayed on the webchat widget on your website |
| Popup Message | The text displayed when the widget is in a minimized state |
| Widget Size | Controls the size of the widget display (Large / Standard / Small) |
| Display Option | Determines on which devices the widget is shown (All Devices / Desktop Only / Mobile Only) |
| Alignment | Determines the position of the widget on the screen (Right / Left) |
| Vertical Spacing | The distance of the widget from the bottom of the screen |
| Horizontal Spacing | The distance of the widget from the side of the screen |
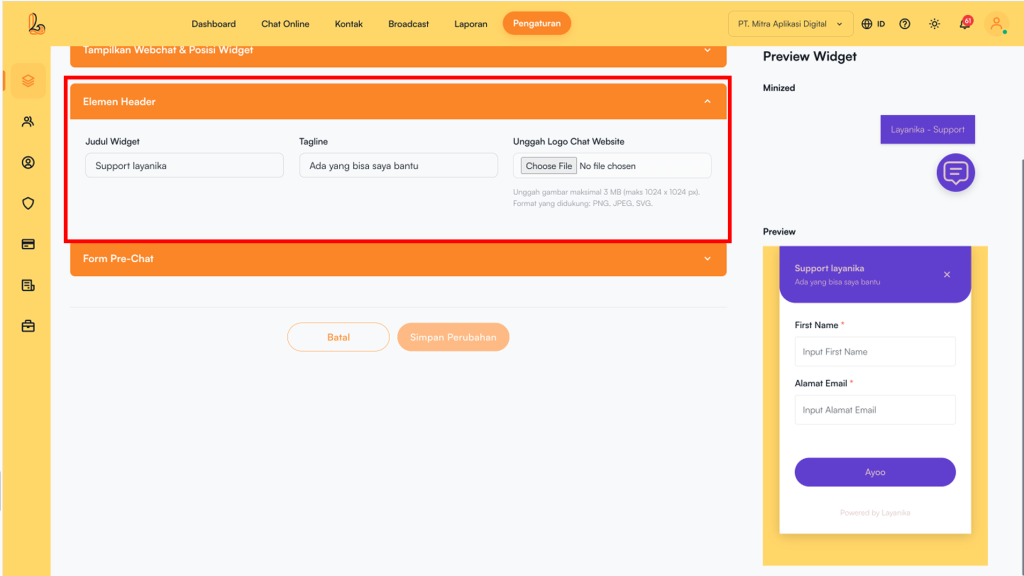
Header Elements #
Users can customize the header appearance of the webchat widget to match their website’s branding. The available settings include:
| Component | Description |
|---|---|
| Widget Title | The title displayed at the top of the widget |
| Tagline | The tagline displayed below the title |
| Upload Website Chat Logo | Upload your website logo to be displayed in the webchat header. Use an image with a maximum size of 3 MB (recommended up to 1024 × 1024 px) in PNG, JPEG, or SVG format |
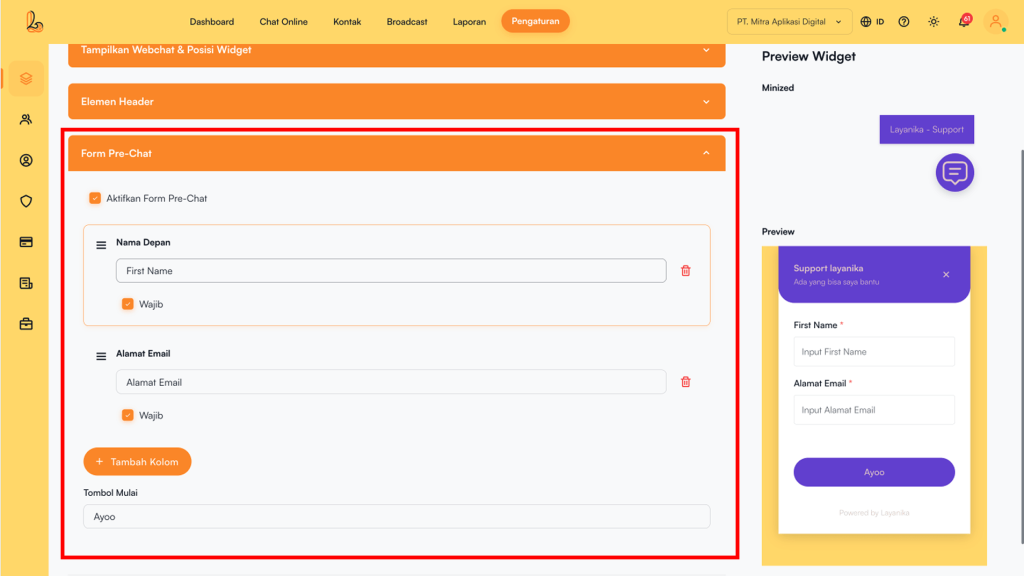
Pre-Chat Form #
When this option is enabled, a pre-chat form will be added to the webchat. Website visitors must complete the form before starting a conversation. The available settings include:
| Component | Description |
|---|---|
| Enable Pre-Chat Form | When this option is enabled, a pre-chat form will be added to the webchat. Website visitors must complete the form before starting a conversation. The available settings include |
| Nama Field | The label displayed for each field in the form |
| Placeholder | Helper text displayed inside the input field to guide users on what information to enter. |
| Mandatory | Determines whether a field must be completed before the user can proceed to chat. |
| Delete Field | Delete fields that are not needed from the form. |
| Add Field |
Adds new fields from the following options:
|
| Reorder Fields | Fields can be rearranged to adjust their display order. |
| Start Button | Sets the text on the button used to start the conversation (e.g., “Start”, “Get Started”). |
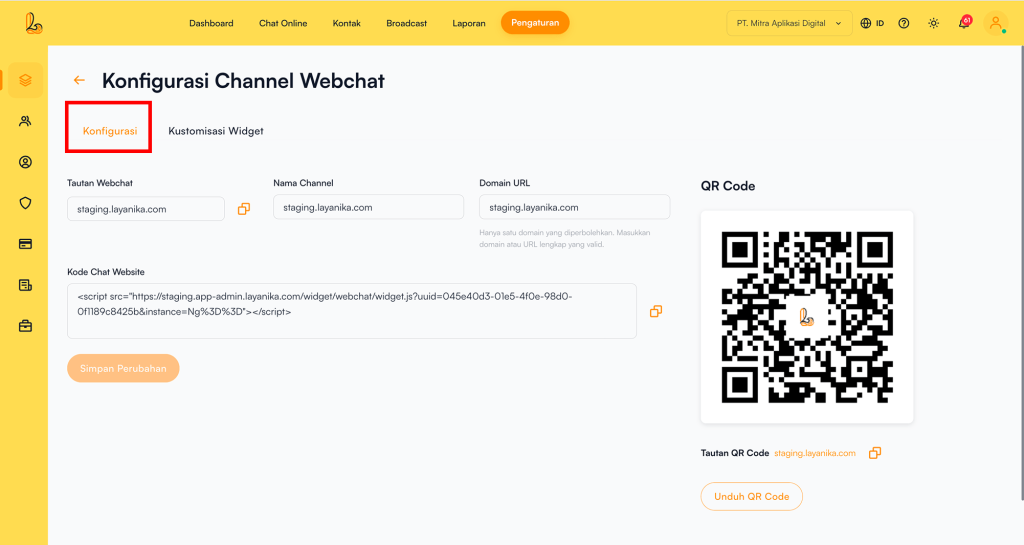
Channel Configuration #
Users can update the channel name, copy the link, and download a QR code through the Configure Webchat Channel.
Click Manage on the Webchat channel that has been connected to Layanika. The system will then display the Configure Webchat Channelpage. Users will see the following information:
- Channel Name: The channel name can be updated as needed.
- Webchat Link: This URL allows customers to easily start a conversation through your website where the webchat widget is installed.
- Domain URL: The website connected to your widget.
- QR Code: You can use the QR code to share the webchat link with your customers. Click Download QR Code to download it.