Facebook Messenger is one of the communication channels that can be integrated into Layanika to send and receive messages from customers through a Facebook Page.

Requirements #
Before getting started, make sure you:
Have a Facebook account
Have an active Facebook Page account
You must have Admin access to the Page
Are ready to log in to your Facebook account during the integration process
Ensure your account is connected to Meta Platforms
If you don’t have a Facebook Page yet, please visit META
Connect Facebook Messenger Channel in Layanika #
Step 1:
Go to the Settings, then select Channel. Click Add Channel then choose Facebook Messenger.
Step 2:
Click Connect With Facebook to log in to your Facebook account. Select the Facebook Business portfolio you want to connect to Layanika, then click Continue.
Step 3:
Click Create Page to create a new page. Then fill in the required information, such as:
- Business Page Name
The name of the page that represents your business, brand, or organization. Learn More. - Business Category
The category that describes your business. You can select 1 to 3 categories that best represent your business, brand, or organization. Learn More.
Ensure all information is correctly filled in, then click Save
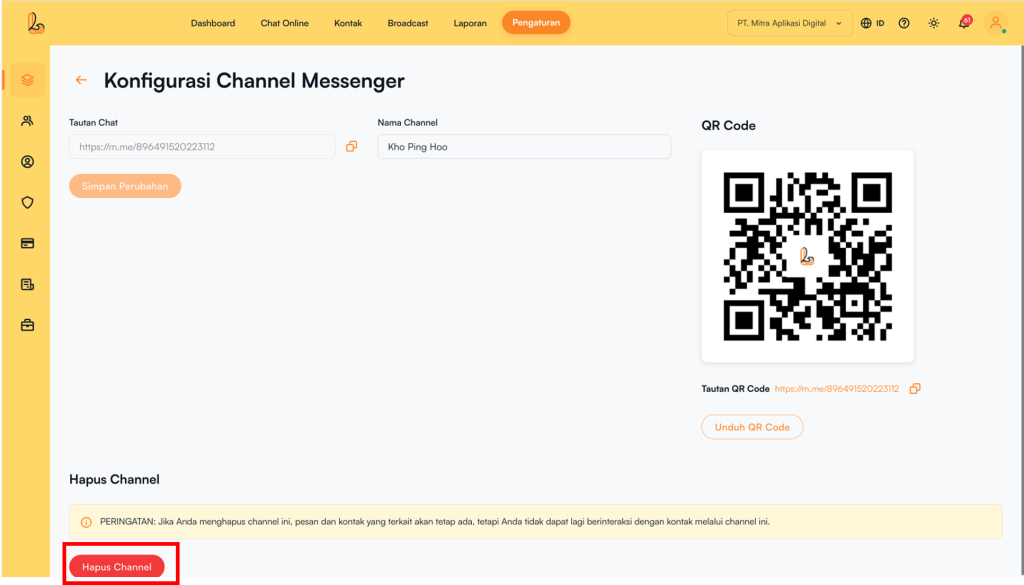
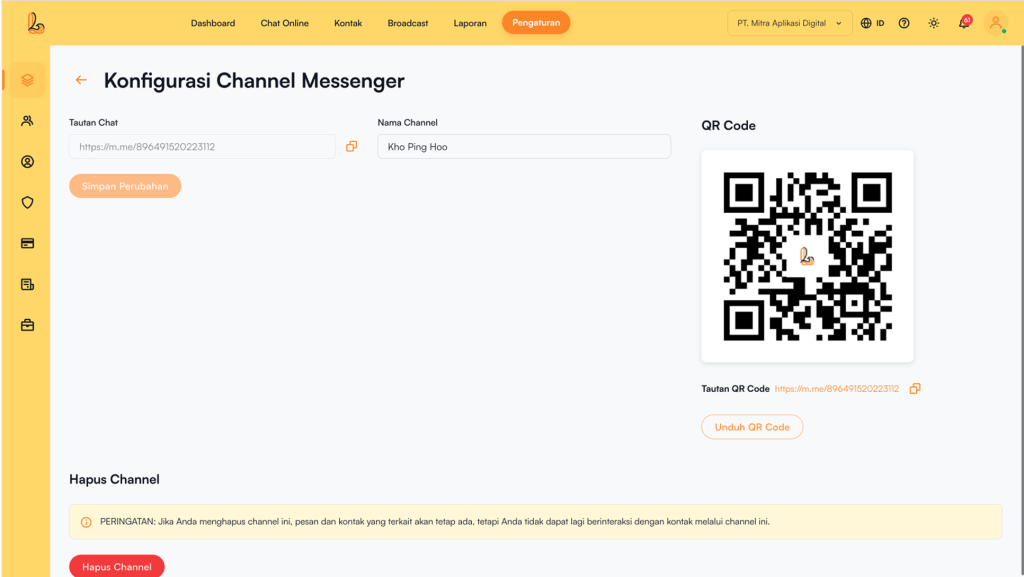
Channel Configuration #
Users can update the channel name, copy the chat link, and download a QR code through the Facebook Messenger Configuration.
Click Manage on the Facebook Messenger channel that has been connected to Layanika.
The system will then display the Facebook Messenger Configurationpage. Users will see the following information:
Channel Name: The channel name can be updated as needed.
Chat Link:
This URL allows customers to easily start a conversation with your Facebook Page.
QR Code: You can use the QR code to share the chat link with your customers. Click Download QR Code to download it. .
Delete Facebook Messenger Channel #
Click Manage on the Facebook Messenger channel, then select Delete Channel.