User Groups in Layanika is a feature used to organize users based on roles, divisions, or specific functions within an organization. This grouping enables more structured and efficient management of access control, task distribution, and team coordination.
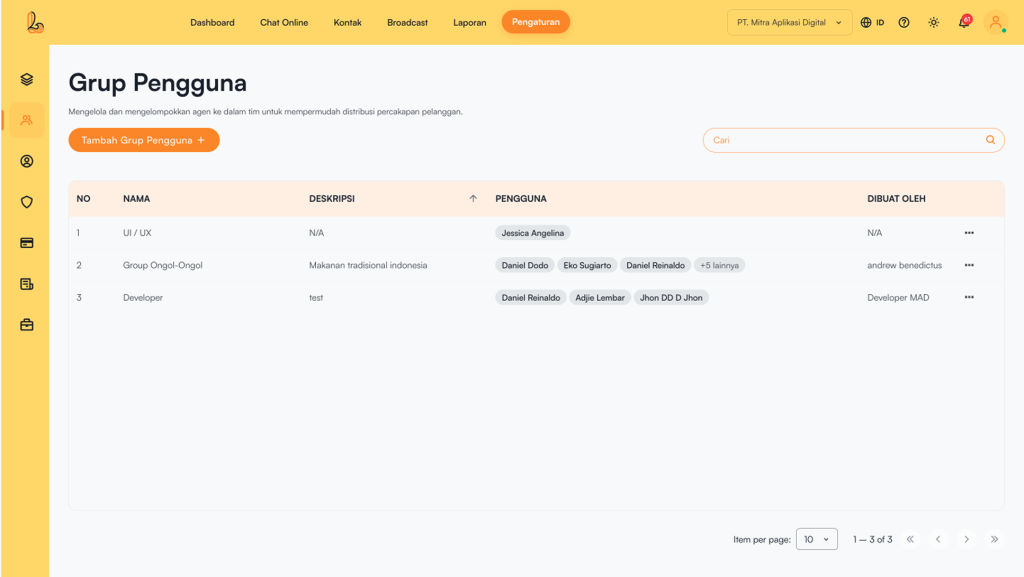
The User Group table includes the following information:
| Colom | Description |
|---|---|
| Name | The name of the user group |
| Description | A description of the group |
| User | A list of members within the group |
| Created By | Information about the user who created the group |
| More | Menu for managing the group (edit or delete) |
a. Add User Group #
Pengguna dapat membuat grup dengan Add User Groups.
Step 1:
Untuk menambahkan grup klik Add User Group yang terletak pada sebelah kiri atas. Setelah itu sistem akan menampilkan halaman Add User Group. Lalu isi formulir seperti:
| Input | Description |
|---|---|
| User Group Name | The name of the group to be created (this field is required) |
| Description | Additional details about the group |
| User | Select one or more users from the available list |
Step 2:
Ensure all information is correctly filled in, then click Save.
b. Edit Group #
Pengguna dapat melakukan pengubahan nama grup, deskripsi , hingga pengguna yang ditambahkan dalam grup. Untuk mengubah grup, pilih grup yang ingin diubah pada daftar grup. Pilih titik 3 (tiga) disebelah kanan dan pilih Updated. Setelah selesai merubah klik tombol Save.
c. Delete Group #
Pengguna dapat menghapus grup yang tidak terpakai dari sistem Layanika dengan Delete Group Hal ini bertujuan untuk menghilangkan grup yang sudah tidak revelan lagi. Untuk menghapus Grup bisa dilakukan dengan klik titik 3 (tiga) disebelah kanan pada daftar grup yang ingin dihapus, lalu pilih hapus.